

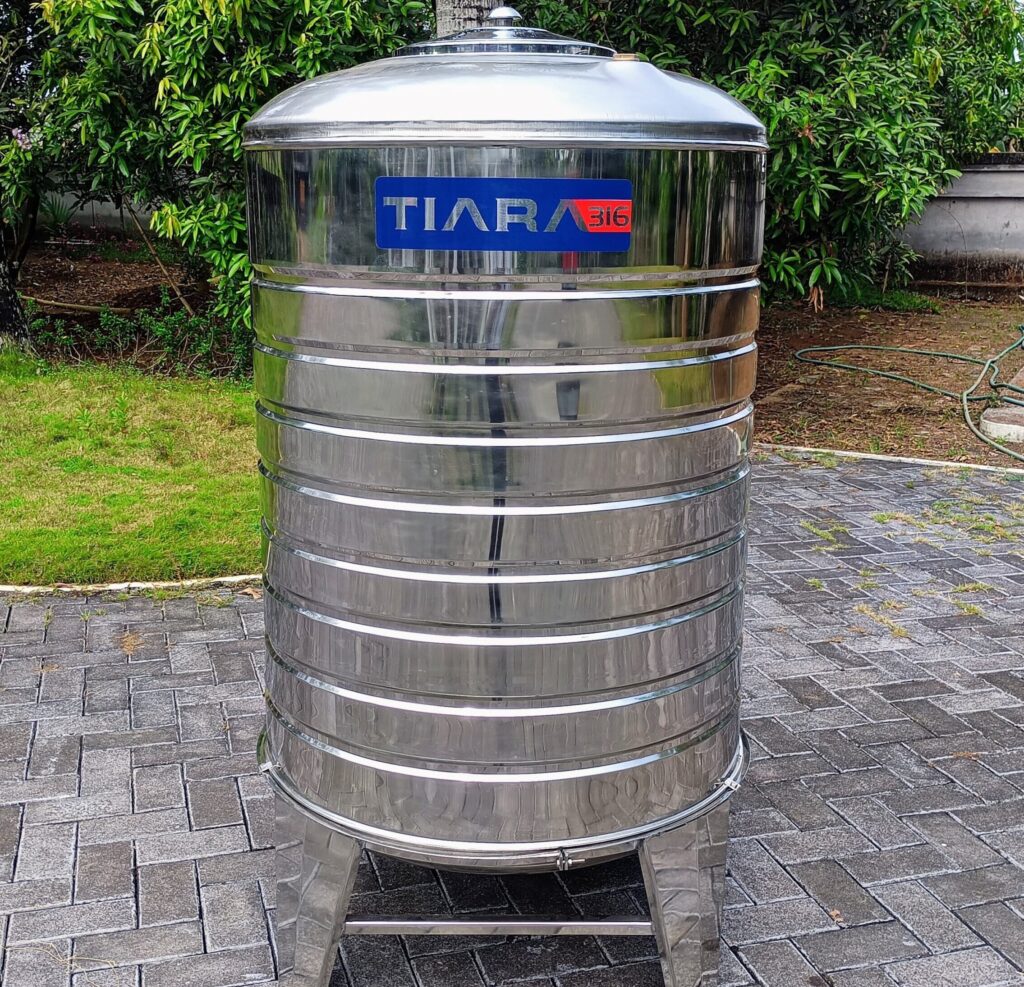
Stainless steel water tanks are renowned for their durability, resistance to corrosion, and aesthetic appeal. When it comes to stainless steel tank installation process proper installation is crucial to ensure the longevity and efficiency of these tanks. This guide provides a step-by-step approach to installing stainless steel water tanks, ensuring you achieve a successful and secure setup.
1. Site Assessment
Location: Choose a level area that can support the tank’s weight when full. Ensure the site is away from potential hazards like heavy traffic or extreme environmental conditions.
Accessibility: Verify that the site allows easy access for installation equipment and personnel.
Drainage: Ensure proper drainage around the installation site to prevent water accumulation, which can affect the tank’s stability.
2. Tank Specifications
Capacity: Confirm the tank size and capacity needed for your water requirements.
Dimensions: Check the dimensions to ensure they fit within the allocated space, including allowances for any necessary fittings and connections.
3. Permits and Regulations
Local Codes: Verify any local building codes or regulations regarding water tank installations. Obtain necessary permits if required.
1. Foundation
Type: Construct a solid and level foundation. This could be a concrete slab or a compacted gravel base, depending on your site conditions.
Size: The base should be slightly larger than the tank’s footprint to distribute the weight evenly.
2. Leveling
Use a leveling tool to ensure the foundation is perfectly horizontal. An uneven base can cause stress and potential damage to the tank.
1. Unpacking
Carefully unpack the tank and its components. Ensure you have all necessary parts, including the tank itself, fittings, and mounting hardware.
2. Inspection
Visual Check: Inspect the tank for any signs of damage or defects that might have occurred during shipping.
Components: Verify that all parts are present and in good condition.
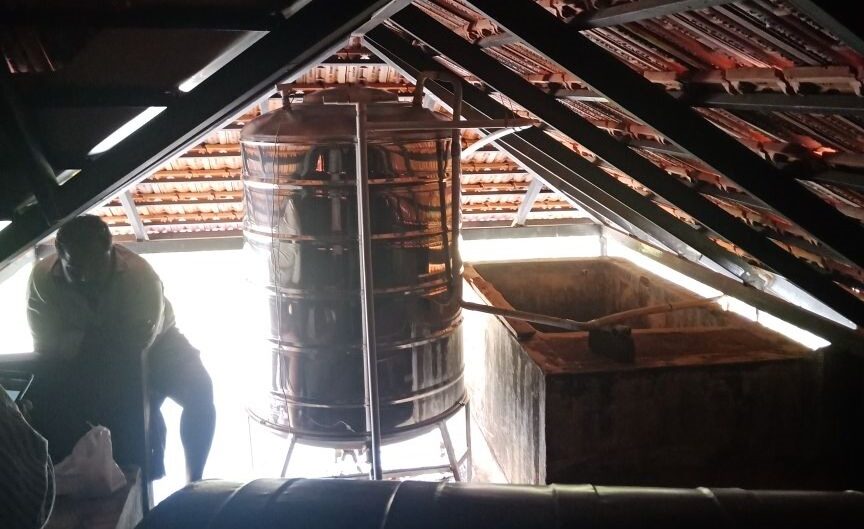
1. Lifting
Equipment: Use appropriate lifting equipment such as a crane or hoist to move the tank into position. Ensure the lifting equipment is rated for the tank’s weight.
Safety: Follow all safety protocols to prevent accidents during the lifting process.
2. Placement
Alignment: Position the tank on the prepared base, ensuring it is centered and properly aligned. Double-check for levelness.
1. Inlet and Outlet Connections
Pipework: Connect the inlet and outlet pipes to the tank. Use the appropriate fittings and ensure they are securely tightened to prevent leaks.
Seals: Apply necessary seals or gaskets to ensure a watertight connection.
2. Overflow and Drainage
Overflow: Install an overflow pipe if the tank design includes one. This prevents overfilling and potential damage.
Drain: Ensure a proper drainage system is in place to handle any excess water or sediment.
1. Initial Filling
Gradually fill the tank with water, checking for leaks at all connections and joints.
Monitor the water level to ensure even filling and stability.
2. Inspection
After filling, inspect the tank and all connections for any signs of leakage or issues.
Verify that all overflow and drainage systems are functioning correctly.
1. Securing
Ensure the tank is securely anchored or supported as per the manufacturer’s instructions. This may involve adding additional support structures or fasteners.
2. Clean up
Remove any debris or installation materials from the site. Ensure the area around the tank is tidy and accessible.
3. Documentation
Document the installation process and any maintenance requirements provided by the tank manufacturer.
Installing a stainless steel water tank involves careful planning, preparation, and execution. By following these steps, you can ensure a successful installation that maximizes the tank’s performance and lifespan. Always consult the manufacturer’s guidelines and consider professional assistance if needed to achieve the best results.