

Ensuring the safety and quality of water stored in a tank is crucial for both residential and commercial use. A water quality audit helps identify potential issues and ensures that the stored water remains clean and safe for consumption. Here’s a step-by-step guide on how to conduct a thorough water quality audit for your storage tank.
1. Preparation and Planning
Define Objectives:
Determine the goals of the audit. Are you assessing overall water quality, checking for contamination sources, or ensuring compliance with health standards?
Gather Necessary Tools:
Collect equipment and supplies such as water testing kits, cleaning materials, protective gear (gloves, masks), and a camera for documentation.
Review Historical Data:
If available, review past water quality reports and maintenance records to identify any recurring issues or changes.
2. Inspect the Tank and Surroundings
Visual Inspection:
Examine the exterior and interior of the tank. Please inspect for any indications of damage, corrosion, or leaks. Check the tank’s environment for potential contamination sources, such as improper drainage or debris accumulation.
Assess Access Points:
Ensure that all access points, including manholes and inlet/outlet pipes, are secure and free from contaminants.
Evaluate the Tank’s Condition:
Assess the structural integrity of the tank. Ensure that it is clean, properly sealed, and free from algae or sediment build up.
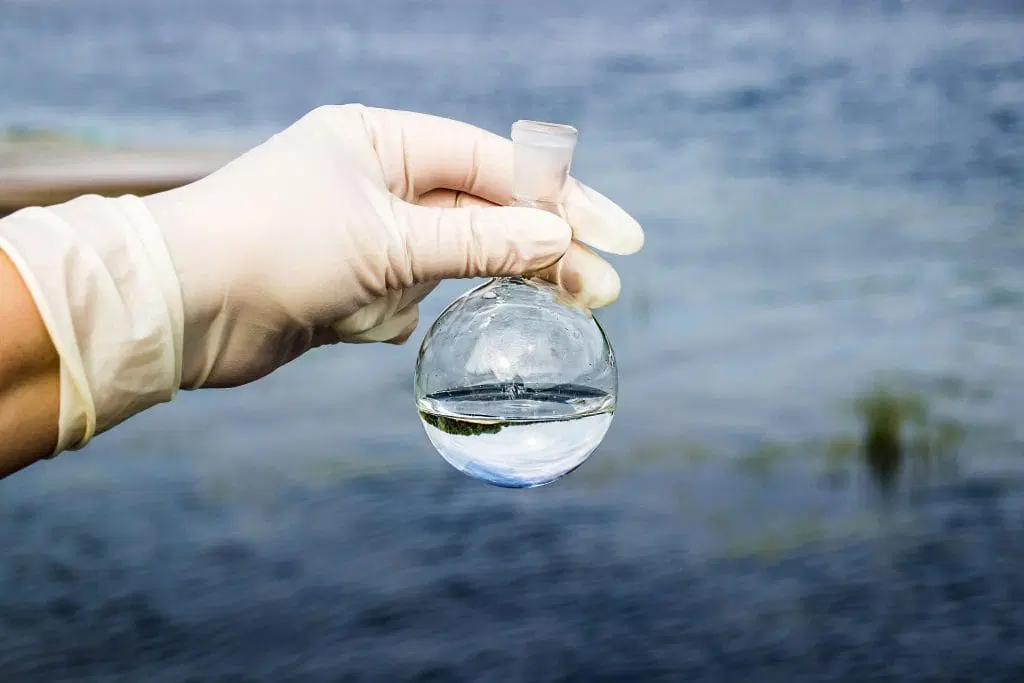
3. Collect Water Samples
Choose Sampling Locations:
Collect samples from various points within the tank, including the inlet, outlet, and mid-level to get a representative sample.
Follow Proper Sampling Procedures:
Use sterile bottles for collection to avoid contamination. Rinse the bottles with the water being tested before collecting the sample.
Label each sample with the date, time, and location of collection.
Store Samples Correctly:
Keep samples cool and, if required, use ice packs to preserve their integrity until testing.
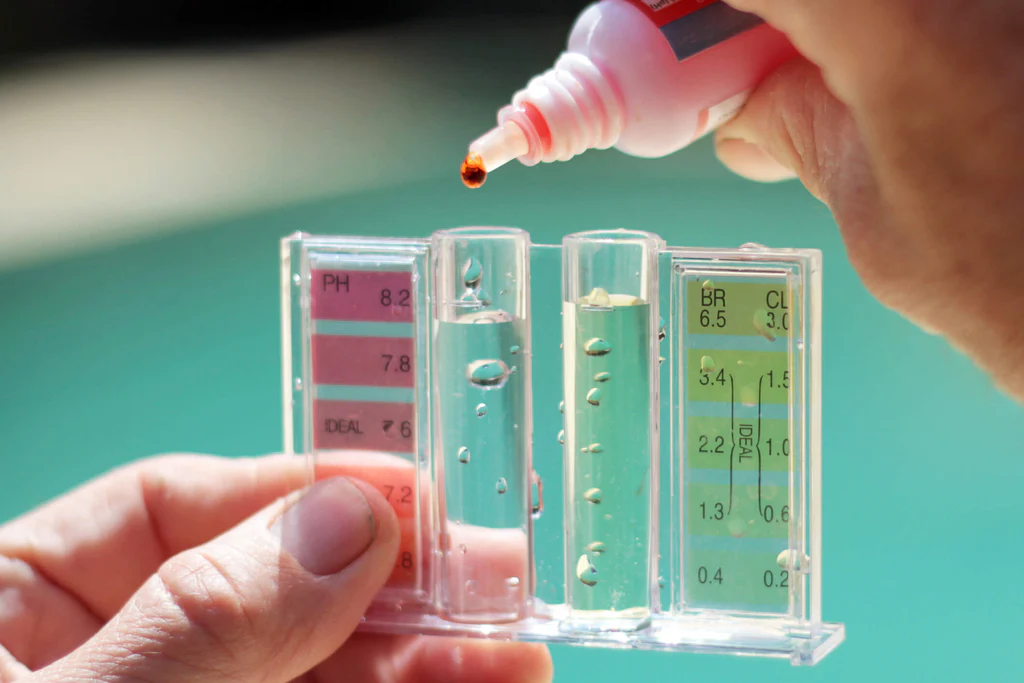
4. Perform Water Testing
Physical Tests:
Turbidity: Measure the clarity of the water. High turbidity can indicate suspended particles or contamination.
Temperature: Check the water temperature, as extreme temperatures can affect water quality.
Chemical Tests:
pH Level: Test the acidity or alkalinity of the water. The pH should generally be between 6.5 and 8.5.
Chlorine Levels: Measure residual chlorine to ensure adequate disinfection.
Hardness: Test for calcium and magnesium levels, which affect water hardness and scale formation.
Microbiological Tests:
Bacteria Testing: Use specific tests for coliforms and E. coli to detect harmful bacteria.
Pathogen Detection: If necessary, test for other pathogens like viruses or protozoa.
5. Analyze Test Results
Compare with Standards:
Compare your test results with local or national water quality standards. This helps identify any parameters that are out of the acceptable range.
Identify Contamination Sources:
Analyze any abnormalities in the results to determine possible sources of contamination, such as inadequate filtration, leaking pipes, or external pollutants.
Document Findings:
Record all test results, observations, and potential issues. Use photographs and notes to document the condition of the tank and any problems identified.
6. Take Corrective Actions
Clean and Disinfect:
If contamination is detected, clean and disinfect the tank and its components. Use appropriate cleaning agents and follow recommended procedures to ensure effectiveness.
Repair and Maintain:
Address any structural issues or maintenance needs identified during the audit. This might include repairing leaks, replacing worn-out parts, or improving ventilation.
Implement Preventive Measures:
Enhance preventive measures to avoid future contamination. This could involve regular cleaning schedules, improving filtration systems, or securing the tank area to prevent external contamination.
7. Review and Update Procedures
Analyze Audit Effectiveness:
Review the audit process and outcomes to evaluate its effectiveness. Determine if any additional measures or changes are needed.
Update Records and Procedures:
Update maintenance records and water quality procedures based on the findings. Ensure that any corrective actions are documented and scheduled for future audits.
Educate and Train:
Provide training for personnel involved in water tank maintenance and quality control. Ensure they are aware of best practices and safety procedures.
8. Schedule Regular Audits
Set a Schedule:
Establish a regular audit schedule based on the tank’s usage, water quality history, and local regulations. Regular audits help maintain ongoing water quality and identify issues early.
Monitor Trends:
Track water quality trends over time to anticipate potential issues and make necessary adjustments proactively.
Engage Professionals:
For complex issues or large-scale systems, consider consulting with water quality experts or professionals to ensure comprehensive evaluation and management.
Conclusion
Conducting a water quality audit for your storage tank is essential for maintaining safe and clean water. By following this step-by-step guide, you can systematically evaluate the condition of your tank, test water quality, and implement corrective measures to ensure that your water remains safe for use. Regular audits and proactive maintenance not only enhance water safety but also prolong the lifespan of your storage tank.